Model Config
On initial launch your Tanuki will pull a single model and push it into the FAST slot. The Model Config page allows you to configure that model and assign different models to the available slots and configure them to your needs.
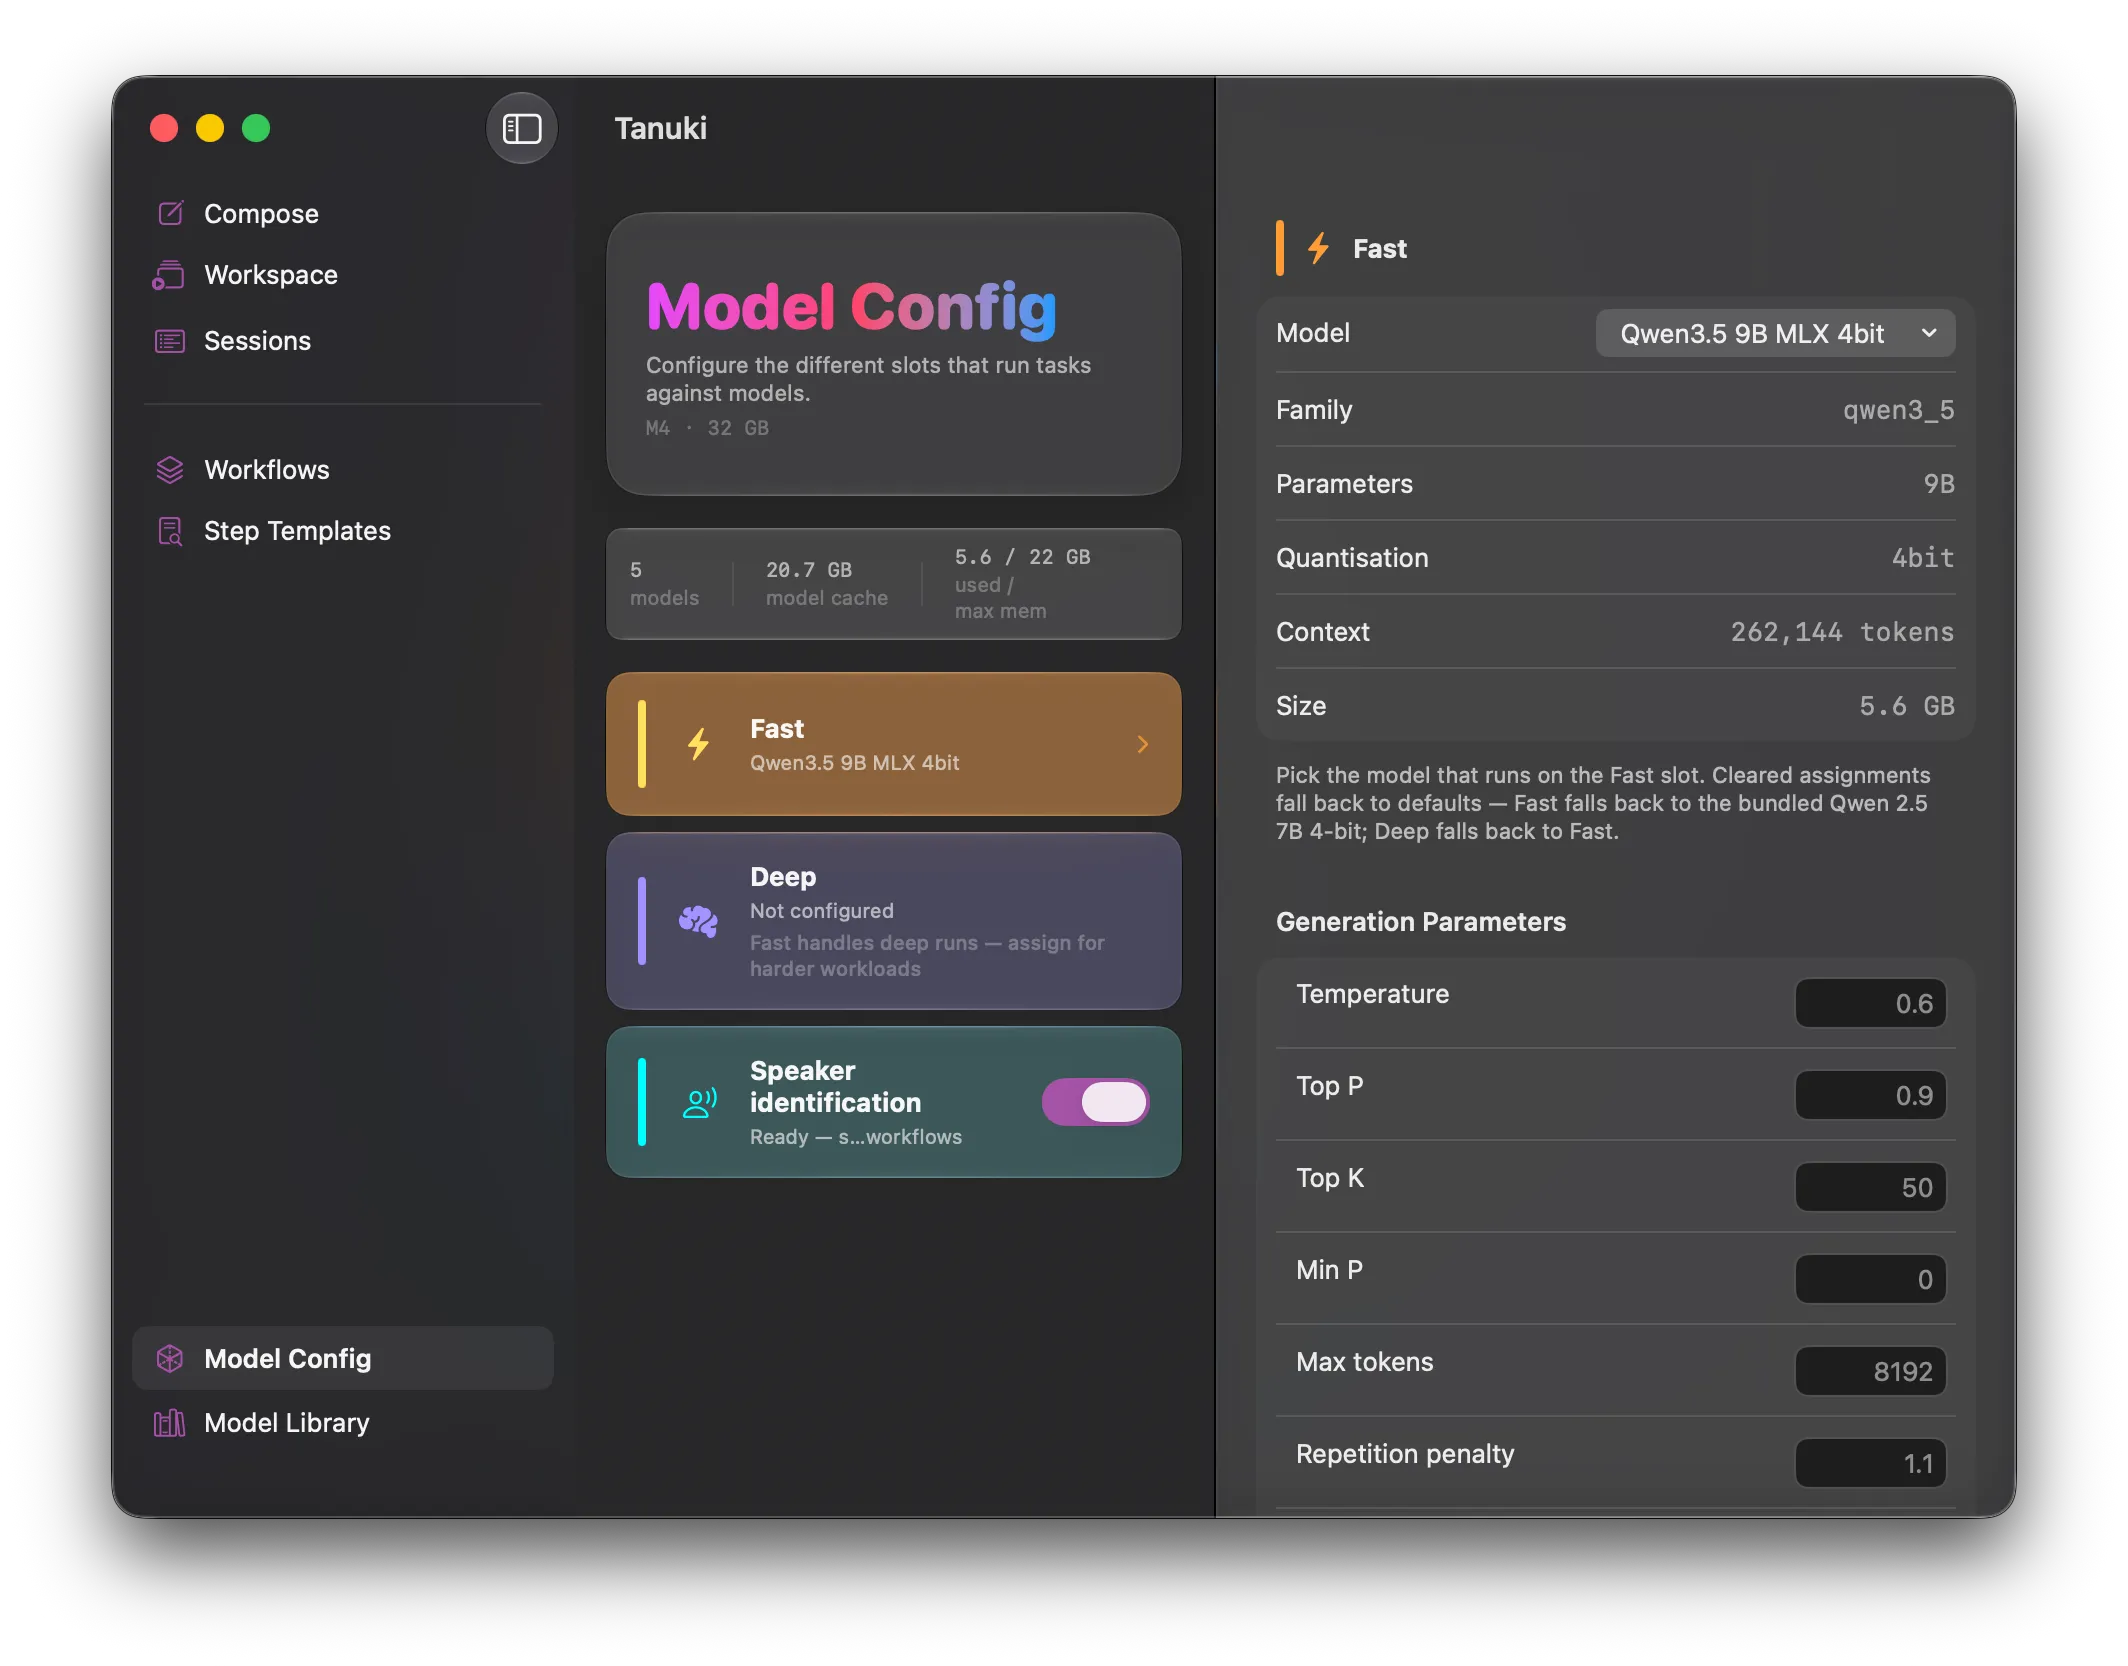
Metadata panel
Section titled “Metadata panel”At the top of the center panel, you can see a small block that holds some metadata about your model library and your machine.
You can see how many models are present in the model cache location, how much space the cache is taking on your hard drive and an indicator about memory usage.
Each model consumes a lot of memory space while the app is running, the indicator on the right of the metadata block shows you how much space the currently selected models will use, the lower number a recommended max to not cross.
The recommendation is calculated based on the amount of shared memory your machine has, if you have the room you could add a model to the deep slot.
Slot List
Section titled “Slot List”Beneath the metadata panel you will see a card for each of the slots that are available. If you have pulled an extra model you can assign it to one of the slots by selecting it and using the detail pane to choose a model from your library to fill the slot.
Fast Slot
Section titled “Fast Slot”The fast slot is the main slot, that is populated in your initial setup workflow as described here.
If no model is injected into the Deep Slot then any workflow step that requests the Deep slot will fallback to using the Fast slot.
For most text manipulation tasks, the fast slot will be sufficient. Where the deep slot comes into its own is when you require summarisation or processing large documents. The bigger models are a bit slower and consume more memory. So long as both slots are under the memory limit listed in the metadata you should be fine, but if you approach that number closely, you will want to close other applications.
Speaker Identification
Section titled “Speaker Identification”This slot is a little different to the others, where you want to use speaker diarisation workflows (like the one described in detail here). You will need to enable the Speaker Identification model by turning it on in the center list. This will pull a small speech processing model (thats a few hundred MB) and allow you to use the diarisation steps.
Slot detail view
Section titled “Slot detail view”The slot detail view is similar to that presented in the Model Library, except here you are able to override the default generation parameters for the slot.
Refer HERE for a detailed description, generally you will know if you need to adjust these values, know that they can be overridden at both the workflow and context template level.
If you override a value on this view, to return to using the default values present in the model. Simply clear the field and on the next run you will be using the default values again (unless you override them elsewhere too.