Setup Tanuki
By the end of this page, Tanuki will be installed and ready to run.
There isn’t a lot to do, and we will talk about the architecture of tanuki HERE, but a quick initial setup and model download is the first thing to occur.
Good news is the model download happens in the background, so you can explore while its being pulled down.
First Launch Wizard
Section titled “First Launch Wizard”Let’s get right into it, we are going to run through initial configuration and run a workflow to get you started.
On first launch you will be prompted for some information, don’t worry it won’t take long, you’ll be working with your Tanuki in a few minutes*.
Org and users
Section titled “Org and users”Tanuki likes to know who he works for, you can use a business name or just make one up. We populate an operator from your local machines confugration. You can set your email address here if you like.
Note that this email address is only used in cases where say you ask your Tanuki to draft an email. You can reference this value in workflow steps, which we discuss in the how-to’s section.
Set Model Library location
Section titled “Set Model Library location”Tanuki uses HuggingFace to manage the machine learning models that drive the application. On first launch, you will need to allow Tanuki access to that app.
Unfortunately the default HuggingFace location is (correctly) in a hidden folder. This means there is an ugly few steps required to select the correct location.
Unless you have a really good reason (and trust me, you know already if you do), use the default location. Models are big and using the HuggingFace cache means you are less likely to download the same models multiple times.
It also means any models you have already downloaded via HuggingFace are already available to Tanuki.
To accept the defaults:
- Press the large button in the middle of the Download Model page.
- Press Allow on the Save - Tanuki will create its model cache here popup
- Press Use “.” button on Are you sure you want to use a name that begins with period “.”?
- Press Replace button on “.cache” already exists. Do you want to replace it?’ warning
- Press continue on the main screen to continue on with onboarding, your model is downloading in the background.
We discuss this process in detail here, but on step 4, this warning is not going to replace anything, MacOS is quite paranoid about apps changing certain files.
We completely agree with them and take access very seriously, this action is safe and will not change or delete anything.
Set Local Output Destination (optional)
Section titled “Set Local Output Destination (optional)”This is the only optional step in the first launch, setting a location in the local file system where every workflows output gets published to.
Once you are inside the app you are able to turn this on and off, and you are also able to add locations in your network or in the cloud to push the outputs of workflows to. Information on output adapters can be found here.
Each workflow is able to publish its output to this location on your file system, note that unless specifically configured not to, a copy will live in tanuki, discoverable in the Sessions view.
Once you have set a location you can move on to the final step of the setup.
Microphone Access
Section titled “Microphone Access”The final input is permission to use the microphone. This is used in both the Compose and Widget tools to take realtime audio for processing.
Under no circumstances does this audio leave your device or Tanuki at all. The only time audio recordings are made is when you press REC or the keyboard shortcut for the Widget.
Once allowed you will see the progess of the model download, press Get Started and you will be greeted with the Workflow page.
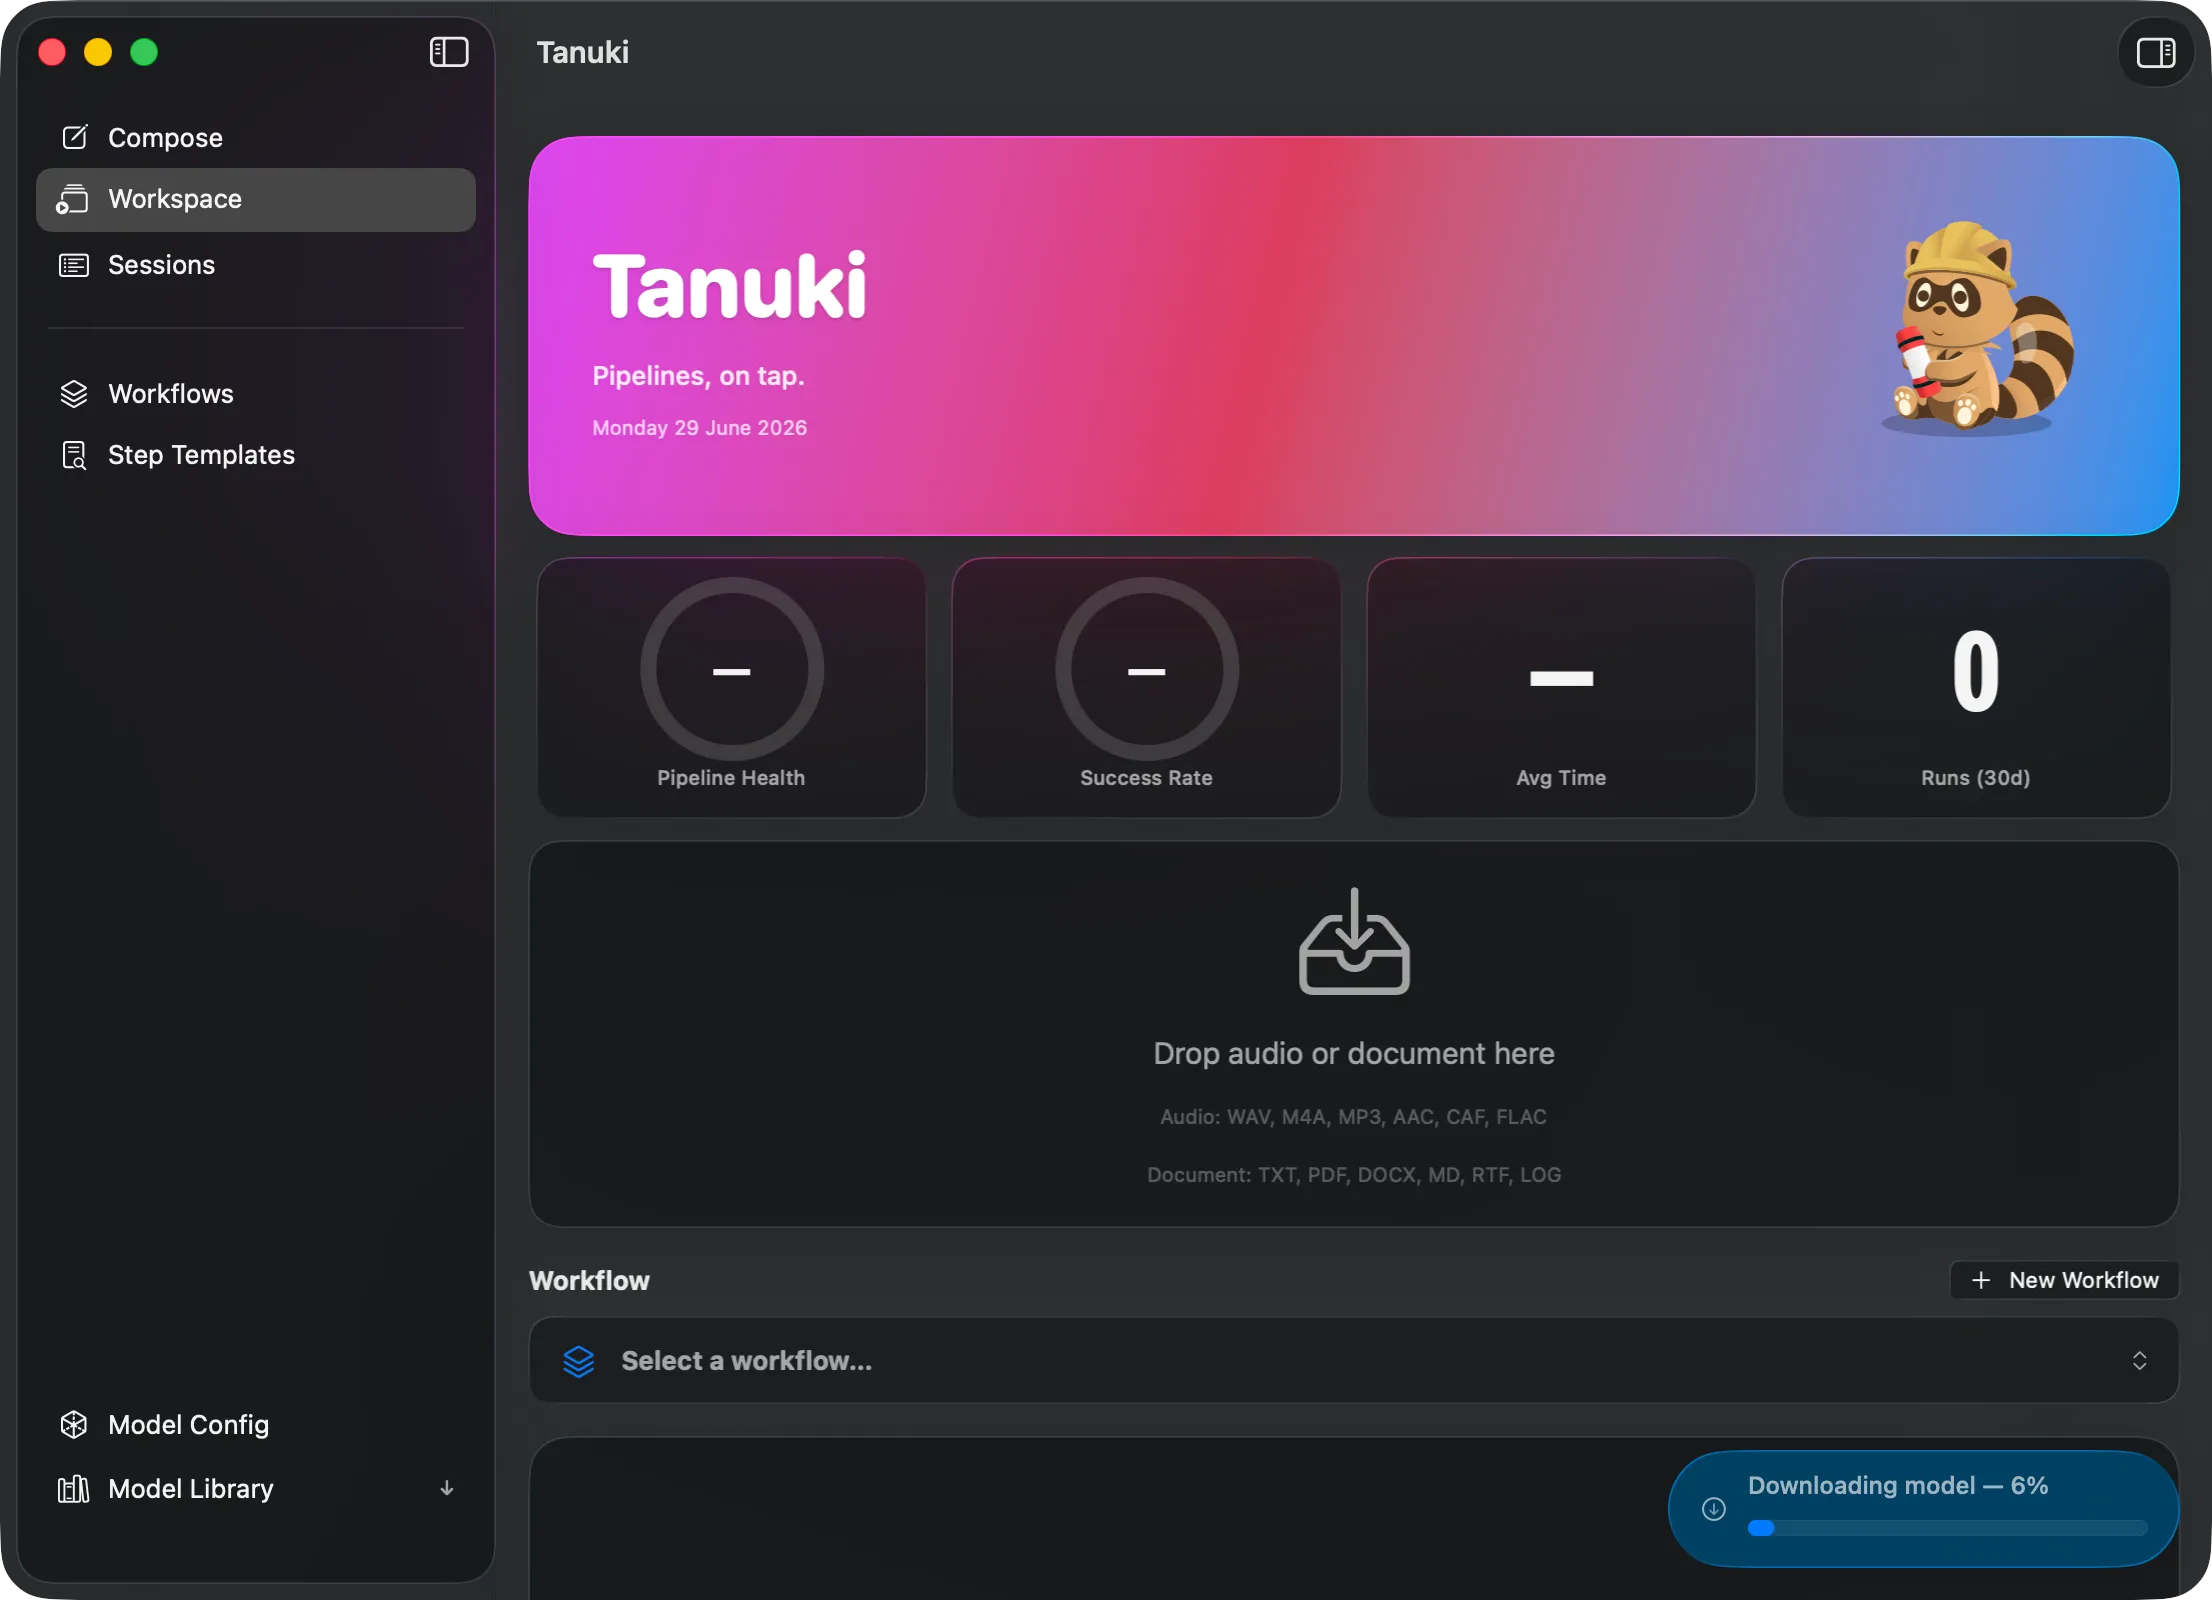
And guess what? Now we can run your first workflow!